30 July 2011

Tips for Outdoor Photography

Susan Brannon
6 August 201
Outdoor photography is similar to landscape photography.  But more than landscape, you take images of mother- nature, animals, trees, or water!

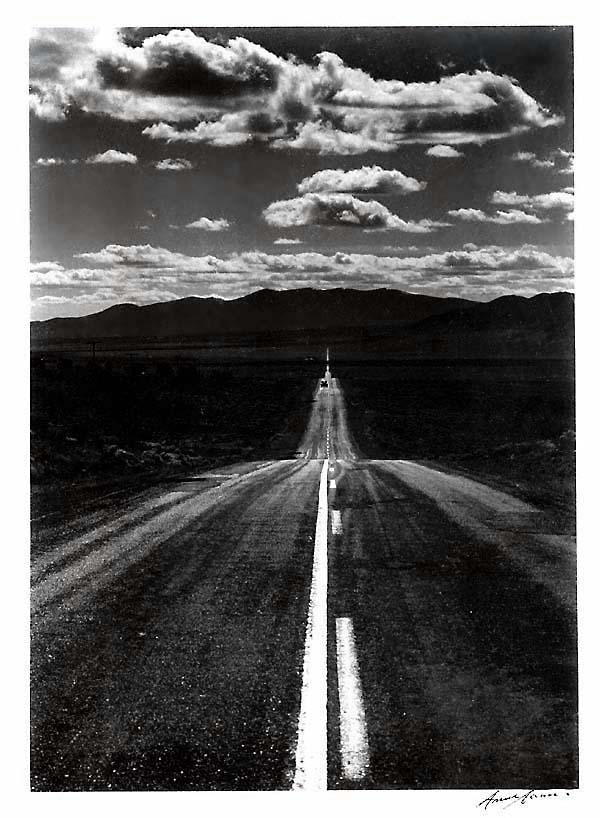
Here are some quick tips to help you get out of the box:
•    Blur your background.  Make your focal point that beautiful flower or bee using your macro lens, and open your aperture! 
•    Create Abstracts:  Look at the stones capture the interweaving of the mountain
•    Use the color around you, if you see bright purple flowers in the middle of a field; create a line with the flowers leading to the hills behind them.  Take images of just the color of the object.
•    Use a Polarizer Filter- This is a must, to reduce reflections and haze.
•    Use a tripod- to get the sharpest image possible
•    Pay attention to your background- don’t let that tree stick out of the middle of your image from a persons head.
•    Get low- gives a great perspective
•    Use the “golden hours”- It is called that for a reason!  These are the perfect times to take outdoor images.  The colors can be so brilliant!
•    Have Patience, for those bird and animal images!  A virtue.
•    Look at the verticals and horizontals- the tree trunks all in a row with the glitter of light shining down on them.  Take a shot of just the trunks!
•    Symmetry and Balance- Balance your image
•    Keep it simple- don’t put too many confusing things in your image
•    Put people in the landscape.  It can provide both a focal point and a perspective.
•    Dial down your exposure by a half-step.  This can give colors a boost! Your blacks will really be black.  Everything seems to come more alive.
•    Look down at your feet and see the details, like the cracked soil, or the small flowers growing from a stone.  Slow down while you are walking around.  Sit down and look around.
•    Try to take images without depending on PhotoShop.  Really.
Related lessons:
Aperture and f/16 Rule
Shutter Speed Basics

Bracketing
Depth of Field
Focused Bracketing or Photo Stacking

28 July 2011

Quick Lesson on Camera Filters

Susan Brannon
28 July 2011
A Lesson on Filters

You can get some really nice and creative effects using filters during the actual shooting, rather than using your processing software. The filters are used normally for color correction, to compensate the effects of lighting that is not balanced.  For example, a blue filter used in daylight, corrects the orange/reddish cast lighting.  Filters are identified by numbers with vary from manufacture to manufacturer.

Here is a list of typical filters and what they do:

UV Filters:  They are used to reduce the haziness created by ultraviolet light.  They are normally transparent and can be left on the camera for nearly all shots.  They are often considered good for lens protection as well.  A strong UV filter cuts off the violet part of the spectrum and has a pale yellow in color, which are more effective in cutting the haze.

Clear filters:  They are completely transparent in perform no filtering of incoming light.  This is used solely to protect the front of the lens.

Polarizer:  This filter is great for both black and white photography and color.  The filter polarizes the light and reduces reflections, darken the sky and saturates the image more by eliminating unwanted reflection.

Colored filters: They come in almost every color, the yellows are good for portrait image taking while the reds are good for architecture.  Instead of purchasing a filter of every color, I use the plastic filter squares that you use when developing your own film!  I set the filter in front of my lens while taking the shot.  The package for the filters are less expensive than buying each colored filter for your camera and actually quicker to use if you are wanting to play around and take many images using different colors.

Diffusion Filters:  These are also called softening filters that give a misty quality to impart a romantic mood.  They are good for portraits because they soften the wrinkles and blemishes.  They have different levels of intensity, but the milder ones are the best.  They work well with wide apertures because they increase the depth of field and softening effect.

Transparent diffusion:  They are made of tiny globs of acrylic deposited on the surface to diffuse light.  Some globs are inside of the filter and some on the outside.  The filters are used for the dreamy or misty effect.  You can also do this by adding petroleum jelly, optic cement and nail polish to a clear or UV filter.

Neutral density:  has uniform density that attenuates light of all colors equally.  It it normally used for longer exposer that creates a blur or larger aperture, for selective focus.

Split-field density filters:  They have a graduated area of color across the surface.  They typically come in one, two and three stop densities.  they add a tinge of color to the sky, that you can see in magazine ads. 

Star filters: have patterns from point of light sources, such as candles, and sparkles on water.  They come in four, six and eight point configurations.

Grid Filters:  Normally used to provide diffusion effects, for dreamy looks and contrast reduction. The grids on the filter are typically in squares or diamonds made from nylon.  You can also create the same effect by stretching a piece of pantyhose in front of the lens.

Related lessons:
Aperture and f/16 Rule
Shutter Speed Basics

Bracketing
Depth of Field
Focused Bracketing or Photo Stacking

26 July 2011

Perspectives in Photography

Susan Brannon
26 July 2011
 Photography Tips for Composition


Photography is not only cropping, cleaning and auto balancing your image to make that great shot.  However, I understand that in commercial, portrait, and creative photography, cropping, resetting, and altering the images is the norm.  Who wants to look at an advertisement for beauty cream with the face all blotchy and full of pimples? Have you ever seen a real live person that looks a perfect as they do in the magazine?


The secret for taking beautiful images lies in your aspiration, passion and admiration of the subject, if it be landscape, people, buildings or food.  For some reason, when you are attracted to the subject it shows in your images and they reflect your passion. Using techniques such as composition, angles, light can help you to create a wonderful image, that can only be tools to help enhance your images.  Using light can draw your focus onto your subject, the angle use can change the representation of your subject from short to tall for example. 

Perspective is important while deciding on what angle to use, what light is best to set up your shot.  Rule of thumb, take your time and never be in a hurry before taking a shot.  Imagine in your mind that instead of using your digital camera that allows you to trash the images you do not like, you are using film.  That precious film that costs so much to develop each roll and each shot depends on your angles, perspective, and lighting.  This way, you can learn to be careful and think before snapping and shooting your image.

Here are a few important tips for enhancing your images:

Perspective:
Don’t just walk up to something that you want to take a picture of and snap a shot!  Don’t only look at the subject from eye level!  Walk around your subject, if you can, or take a one -meter step to your left, to your right, up and down while looking through your viewer.  Do you see anything that stands out to you?  Which position reflects what you want to show in your image?  Take a series of shots from different angles.  I saw a new stature in front of the Pitti Palace in Florence, Italy and walked around it. Like This!

Perspective 1
Perspective 2
Perspective 3
Perspective 4
Perspective 5
You can see the difference with the various perspectives, just by walking around the statue and taking my time and looking at what I am seeing!
Which one do you like best?


Related lessons:
Aperture and f/16 Rule
Shutter Speed Basics

Bracketing
Depth of Field
Focused Bracketing or Photo Stacking

25 July 2011

Road, Nevada Desert

Ansel Adams - Road, Nevada Desert - National Archives, Dept. of Interior
Susan Brannon
9 August, 2011
Road, Nevada Desert- 1960 This is a good example on perspective balance, again, plays a part. the pitch black desert is separated from the rough sky by the horizon. contrast obviously plays a role as well. the road running directly through the middle of the shot for what seems to be forever.  To develop the images of the clouds, Adam's must have "dodged and burned" the sky area.

24 July 2011

What is the Best Time for Taking Images?

24 July 2011

Photographers refer to the best times as “the golden hour”.  This refers to the first and last hour of sunlight.  Some call it the “magic hour” and others simple call it the “best hours”.
This is for outdoor photography, documentary, travel, nature, people and culture, architecture, and panoramas.

Why is this so?
Because the quality of light, color and the special “glow” you see at that time of the day.  Most of the time, the advantage is that you will not get overexposure's with your shots!  The colors are not drained, or washy as in high noon image taking.
shadows compared to the shots taken when the sun is at its full height.

The sun is in its lowest position, so the shadows become more pronounced with a warm soft glow.  At these times, you will think that you will not be able to capture any better shot that what you see, but if you are patient, you will have plenty of time to capture the soft glow, as the sun rises or sets.  The light changes quickly and will fade into the night.

For sunsets, I have found that waiting until that last moment, is when I capture the best images.


Camera settings

1)   Experiment with your settings. Switch off that Auto Mode!
2)  Turn off the auto white balance and adjust manually the white balance to your desired mood.
3)  Slow down the shutter speed a bit.
4)  Bring a tripod with you when taking shots during the Golden Hour is important to avoid camera shock.

Check the Weather

You must always check the time of sunrise or sunset in your local area. Never assume. Always check for the weather forecast. If it’s too cloudy or it will rain, then there’s no point going out. Try again tomorrow.

Related lessons:
Aperture and f/16 Rule
Shutter Speed Basics

Bracketing
Depth of Field
Focused Bracketing or Photo Stacking